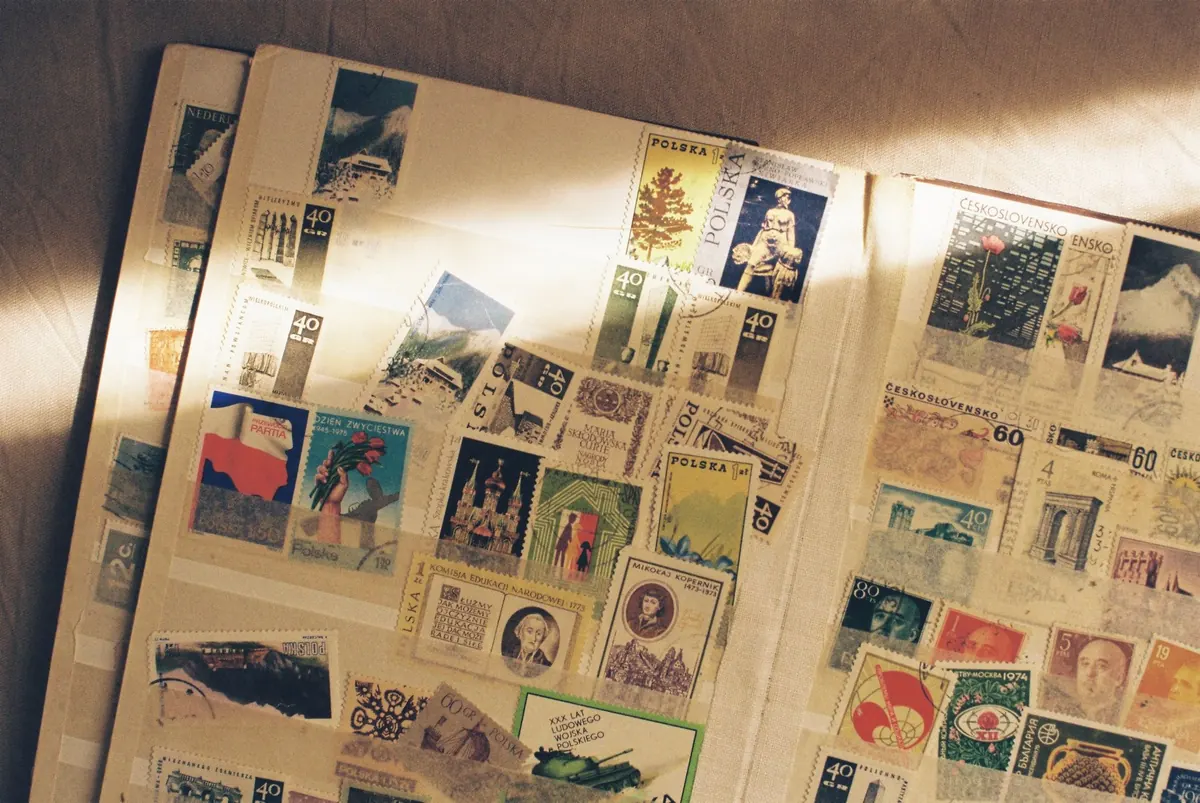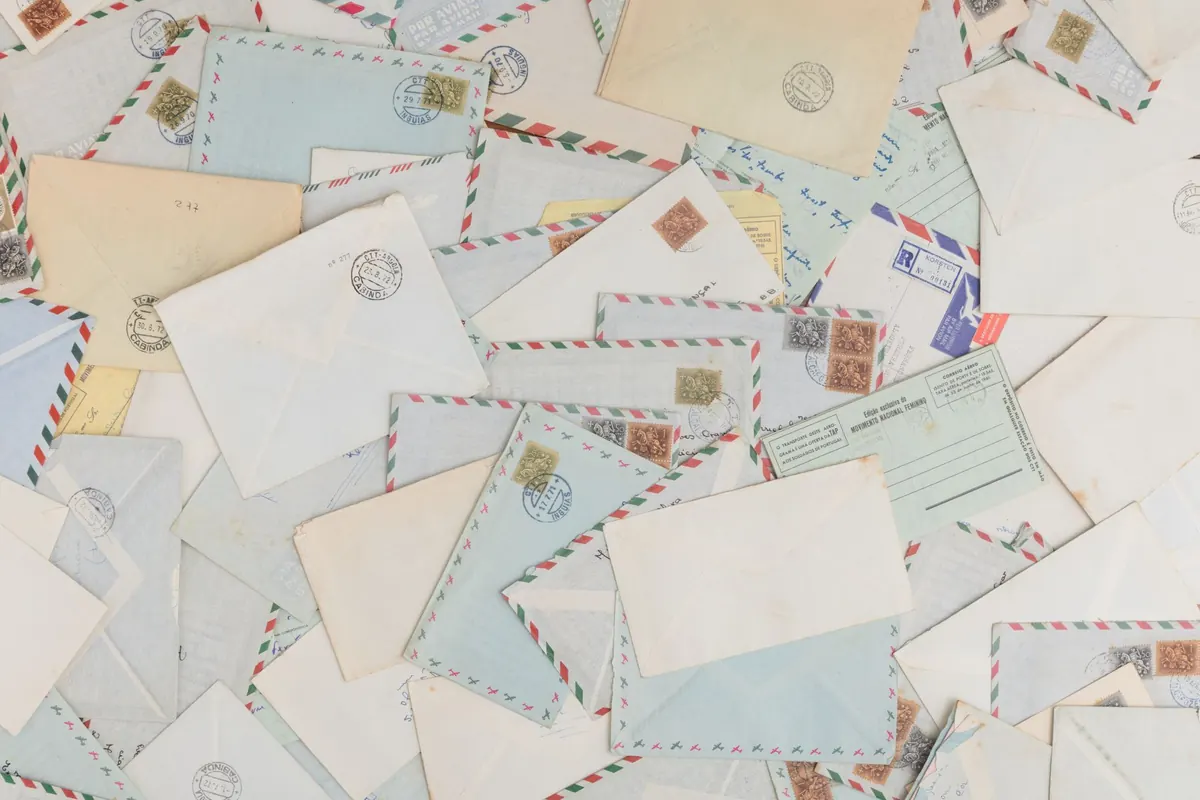
Somewhere in most collections sits a postcard with no date on the front and nothing legible on the back. It lives in the box, undated, and you keep meaning to pin it down. The good news is that a postcard is unusually generous with evidence. Its postmark, stamp, back layout, paper, printing method and publisher marks each point to a period. When four or five of those clues agree, you can date the card with confidence — or at least write "circa 1910" without feeling like you are guessing.
Work through the clues in the order below. The early steps are the most precise, so start there and let the vaguer ones confirm what you find.
A postmark is the only part of a postcard that carries a hard date, which is why it gets first attention. Look for the circular date stamp with the town and state around the rim, or the machine cancel with wavy lines and a slogan beside it. Duplex cancels combine a killer and a datestamp in one impression. On most of these, the month and day sit in the centre, and the year is either spelled out or shortened to two digits near the bottom of the circle.
Two cautions. First, a postmark records when the card was mailed, not when it was printed. The two are usually close — most people posted a card within days of buying it — but a card can sit in a drawer for years, so treat the postmark as the latest possible printing date rather than an exact one. Second, check the back for a receiving mark. Cards posted abroad or travelling between small towns sometimes picked up a second, clearer datestamp that settles a question the first one raised.
If the mark is faint, do not wet it, rub it, or press tape over it. Photograph the card in raking light from a low angle and adjust the contrast; that recovers more than any physical intervention will.
The back of a postcard changed shape as postal rules changed, and those changes give you a rough calendar.
On an undivided back, the whole reverse side belongs to the address; messages had to be squeezed onto the picture side. Divided backs, with a vertical line separating message and address, came into use at different times in different countries — in the United States, from 1 March 1907. So an undivided back points to the years before that in the U.S., and a divided back to the years after, with a decade or so of overlap elsewhere.
Look closely at the printed words. Government-issued cards and privately printed ones were labelled differently, and phrases such as "Private Mailing Card" belong to a narrow window in the late 1890s. Later printings often drop the label entirely or use a plain "Post Card." These wordings are a rough guide, not a certificate, but they are useful when the postmark is gone.
Paper is the clue most collectors learn last and trust most. Hold the card at an angle to a lamp and look for texture.
Size helps too. The classic 3½ by 5½ inch card is the standard for most of the twentieth century; the larger continental size, nearer 4 by 6 inches, became common from the 1960s. A soft, floppy card with a strong chemical smell is usually a modern reproduction, whatever the picture shows.
Put a magnifier on the image, or zoom in with a phone camera. What you see tells you how the card was made.
Halftone printing breaks the image into a visible grid of dots; lithographs often show flat areas of colour with softened edges where tones were laid in by hand; collotypes have a fine, continuous, almost photographic smoothness. Real photo postcards are exactly that — an actual photographic print on postcard stock — and under magnification they show grain rather than a dot pattern, usually in soft greys or warm sepia.
Linen cards show an embossed crosshatch under the ink. Chrome cards are glossy and continuous tone, with deep, saturated colour that earlier processes could not produce. If the picture is sharp and dotted, it is a printed card; if it is sharp and grainy, suspect a photograph.
Run your eye along the bottom edge and the lower-left corner of the picture. Publisher names, series numbers, artist signatures, copyright lines, and country-of-printing notes tend to hide there. "Printed in Germany" was extremely common on cards sold in Britain and North America before the First World War, when a change in American import duties pushed publishers to print at home — so that phrase is a dating clue, not evidence about where the card was sold.
On real photo cards, look for a photographer's stamp or embossed studio name on the back. Even a partial address helps place the card, and knowing the studio's active years can narrow the date considerably.
They often will, and that is normal. A divided-back card with a 1908 postmark is straightforward. An undivided-back card postmarked in 1912 is also straightforward — old stock stayed in use, and people kept writing messages across the picture for years after the rules changed. A card printed in the 1910s and postmarked in the 1950s was simply saved and sent later. In those cases the postmark gives you the mailing date and the printing clues give you the design date, and both are worth recording.
Write your conclusion on the sleeve, never on the card, and store the card in an acid-free holder away from sunlight and damp. Keep a simple note of what you decided and why, so that a later look at the same card does not start from scratch. A date you can justify from three or four clues is worth far more than one you guessed from the picture alone.
Photo: wal_ 172619 / Pexels